Route's roughest stretch
Tire width should answer the worst surface you cross regularly, not the surface you spend the most minutes on. One block of broken concrete or a gravel shoulder decides the size.
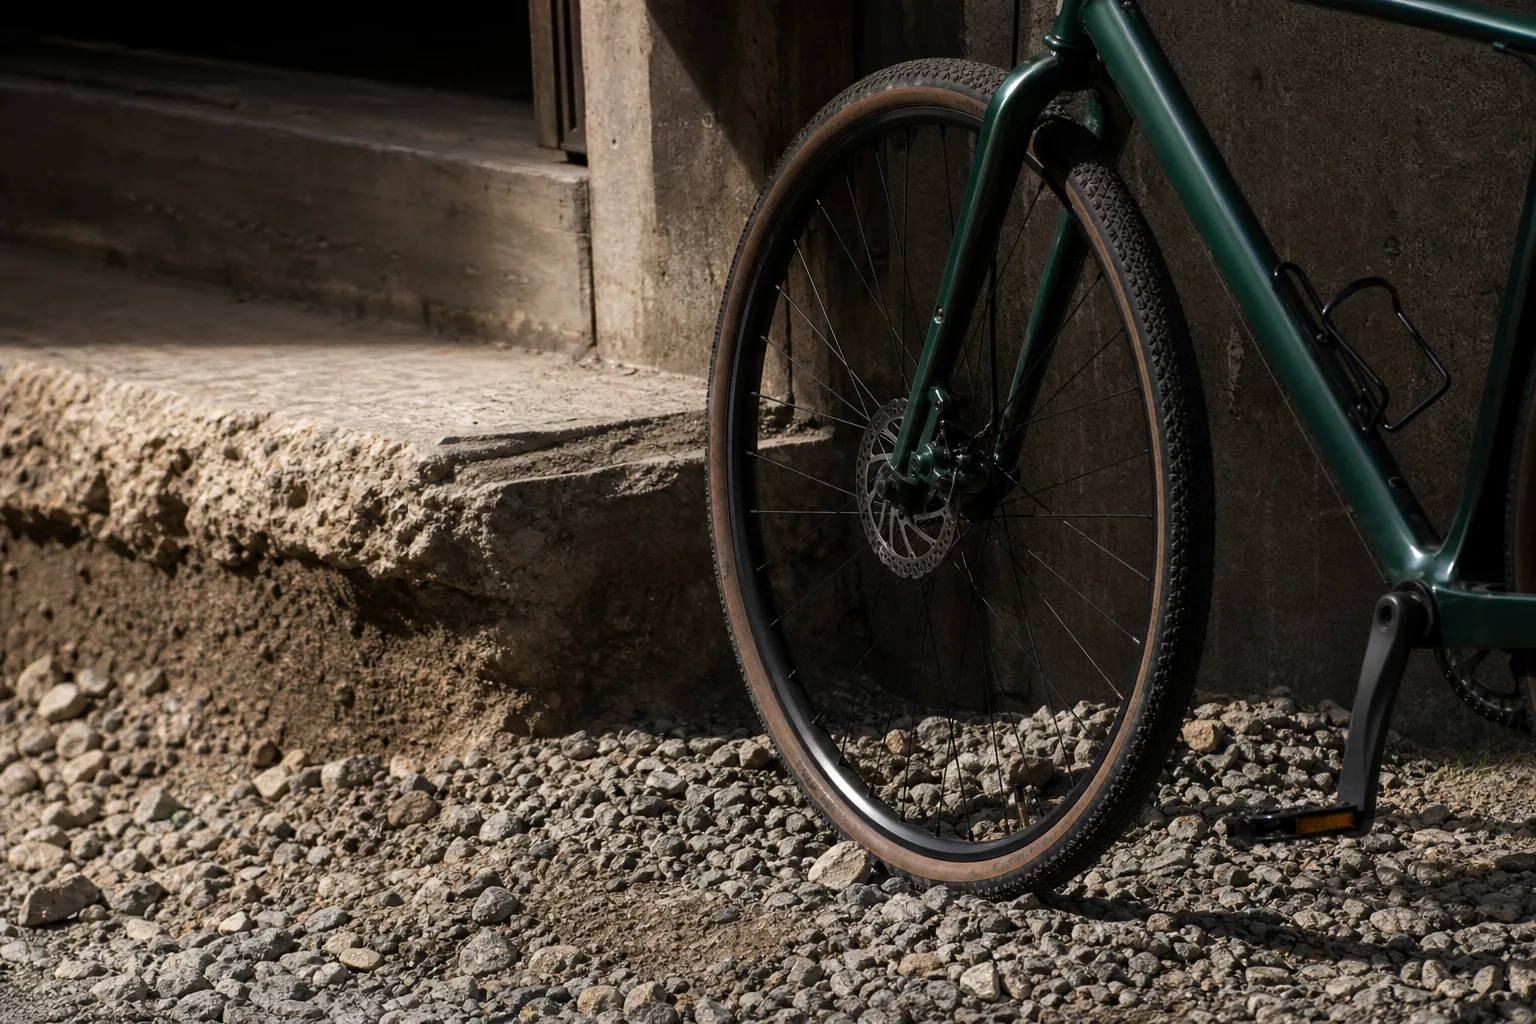
How to pick a commuting tire between 28mm and 50mm by the roughest surface on your route, and check clearance, pressure and tread before you buy.
Pick the width for the roughest hundred yards you ride regularly, not for the smooth mile that makes up most of the trip. A route that is nine parts fresh asphalt and one part broken concrete apron behind a strip mall behaves, from the tire's point of view, like the broken concrete. That is where you get pinch flats, where the front end skitters, where you slow to walking pace because the bike is telling you it has run out of cushion. Everything else on the route is already comfortable at any width you might buy.
Frame and fork clearance caps the decision, and it caps it before taste, terrain or budget get a vote. Look for a molded or printed maximum on the fork leg or the inside of a chainstay, and treat it as the ceiling rather than a suggestion. Then check the bike you actually own, with the wheel in the dropouts, by sliding a folded business card between the tire and the chainstay, the seat tube, the brake bridge and the fork crown. If a card will not pass on both sides, you are already at the limit.
Two other measurements matter to a careful reader. A tire's printed size is nominal, and the same 38mm casing can measure 36mm on a narrow rim and 40mm on a wide one, so the internal rim width you are mounting to changes the answer. Measure the installed tire with calipers rather than trusting the sidewall. Fenders eat roughly another 8 to 10mm of vertical room, and a bike sold with fenders is often already using the clearance you were hoping to spend on rubber.
At 28mm you have a road tire that survives town riding: fine on smooth asphalt, fine on the cracked stuff if you pick lines, unpleasant on crushed limestone and genuinely nervous on a loose gravel shoulder. Somewhere around 32 to 35mm the bike stops arguing with expansion joints and starts crossing a packed limestone path without ceremony. At 38 to 42mm the gravel shoulder becomes routine and potholes stop being events. By 45 to 50mm you are buying float for soft or chunky surfaces, and paying for it in weight and in the clearance you no longer have.
The maximum pressure printed on a casing is a structural limit, not a recommendation, and running it is the most common way people make a wide tire ride worse than a narrow one. Set pressure by total load: your body weight, the bike, the bag, the groceries. A 165-pound rider on 38mm tires is usually somewhere in the forties or low fifties psi; a 220-pound rider with a loaded rack needs meaningfully more, and a lighter rider on 45mm can go lower still. Adjust in five psi steps over a week of real riding, and stop when the harshness goes without the tire feeling vague in corners.
Rubber does not hydroplane at bicycle speeds and contact patch pressures, so the knobs and sipes on a commuter tire do nothing useful on wet asphalt. What they do is buzz, wear unevenly and squirm under braking. Tread starts paying only in surfaces that deform: soft dirt, loose gravel over hardpack, mud. Wet leaves are the exception that fools people, since nothing grips wet leaves, and the answer there is a wider casing at lower pressure and a straighter line, not a more aggressive pattern. A file tread or smooth center with light shoulder texture covers almost every mixed commute.
Going from 28mm to 40mm costs less than most riders expect, and on rough pavement it often costs nothing, because the energy a narrow tire saves in the casing it loses shaking you and the bike. The real penalties are rotating weight on hard accelerations, a little more aerodynamic drag above the high teens in miles per hour, and worse handling if you overfill. Casing quality changes the answer more than a few millimeters do. The Consumer Product Safety Commission oversees bicycle safety requirements for bikes sold in the United States, and reflective sidewalls are a common feature worth checking for while you are comparing casings.
Write down the widest tire your frame and fork will take with fenders, subtract nothing for optimism, and then choose the largest size at or under that number that suits the worst surface you cross. That is usually a wider tire than the one the bike came with.
Tire width should answer the worst surface you cross regularly, not the surface you spend the most minutes on. One block of broken concrete or a gravel shoulder decides the size.
Frame and fork clearance limits the choice before preference does. Check the printed maximum on the fork leg or chainstay, then verify with the wheel installed.
Slide a folded business card between the tire and the chainstay, seat tube, brake bridge and fork crown. If it will not pass on both sides, the tire is too big for that frame.
Nominal versus measured width. A tire marked 38mm can measure 36mm on a narrow rim and 40mm on a wide one. Measure the mounted tire with calipers rather than trusting the sidewall.
Fenders take their share. A fender set typically consumes another 8 to 10mm of vertical clearance. Bikes that come with fenders may already be using the room you wanted for wider rubber.
28mm territory. A 28mm tire handles smooth and moderately cracked asphalt well if you pick your lines. It feels harsh on crushed limestone and unsettled on loose gravel.